Spotting the Northern Lights
When do you want to go?
2024
I'm flexible
Passengers
Adults (18+)
Children (0 - 17)
What are the Northern Lights?
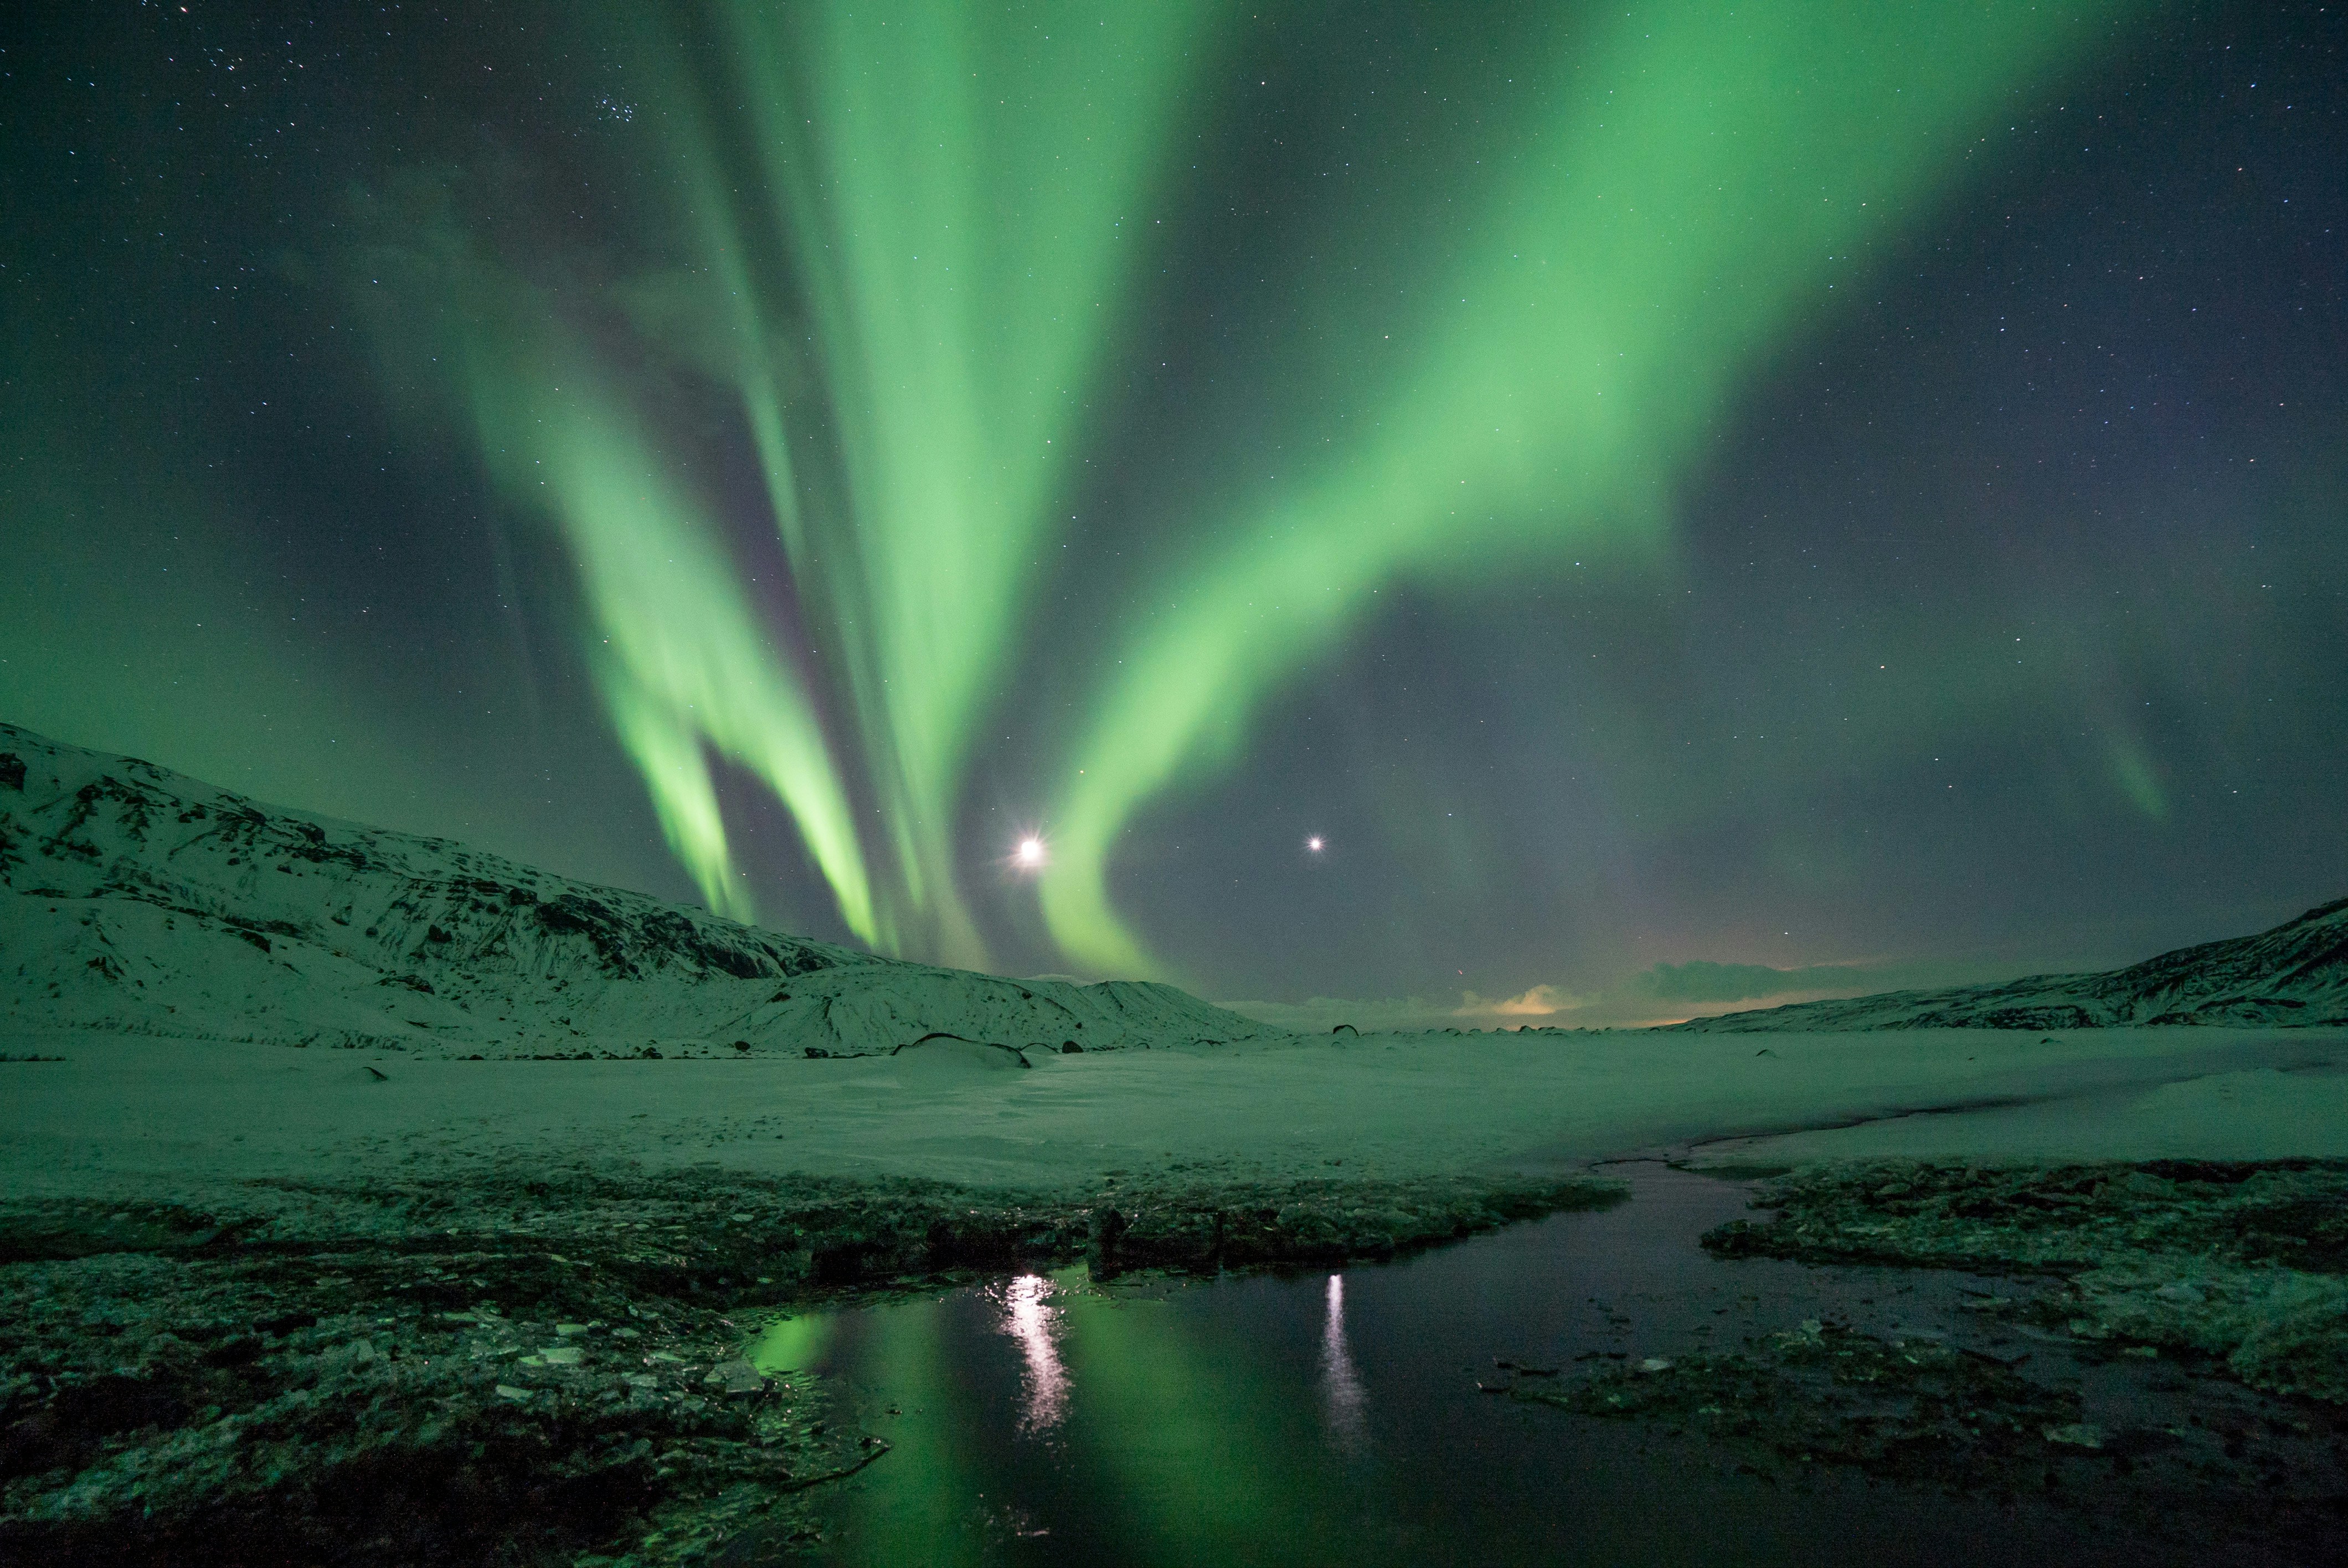
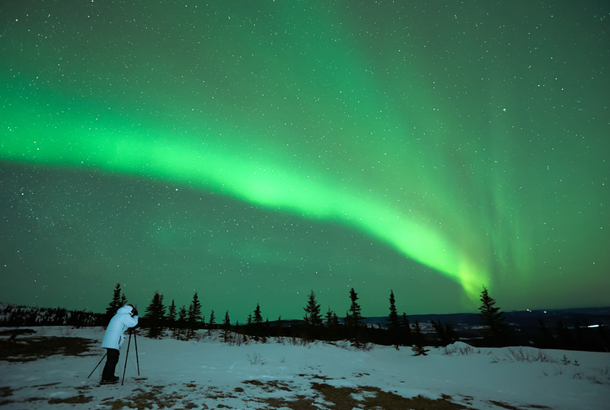
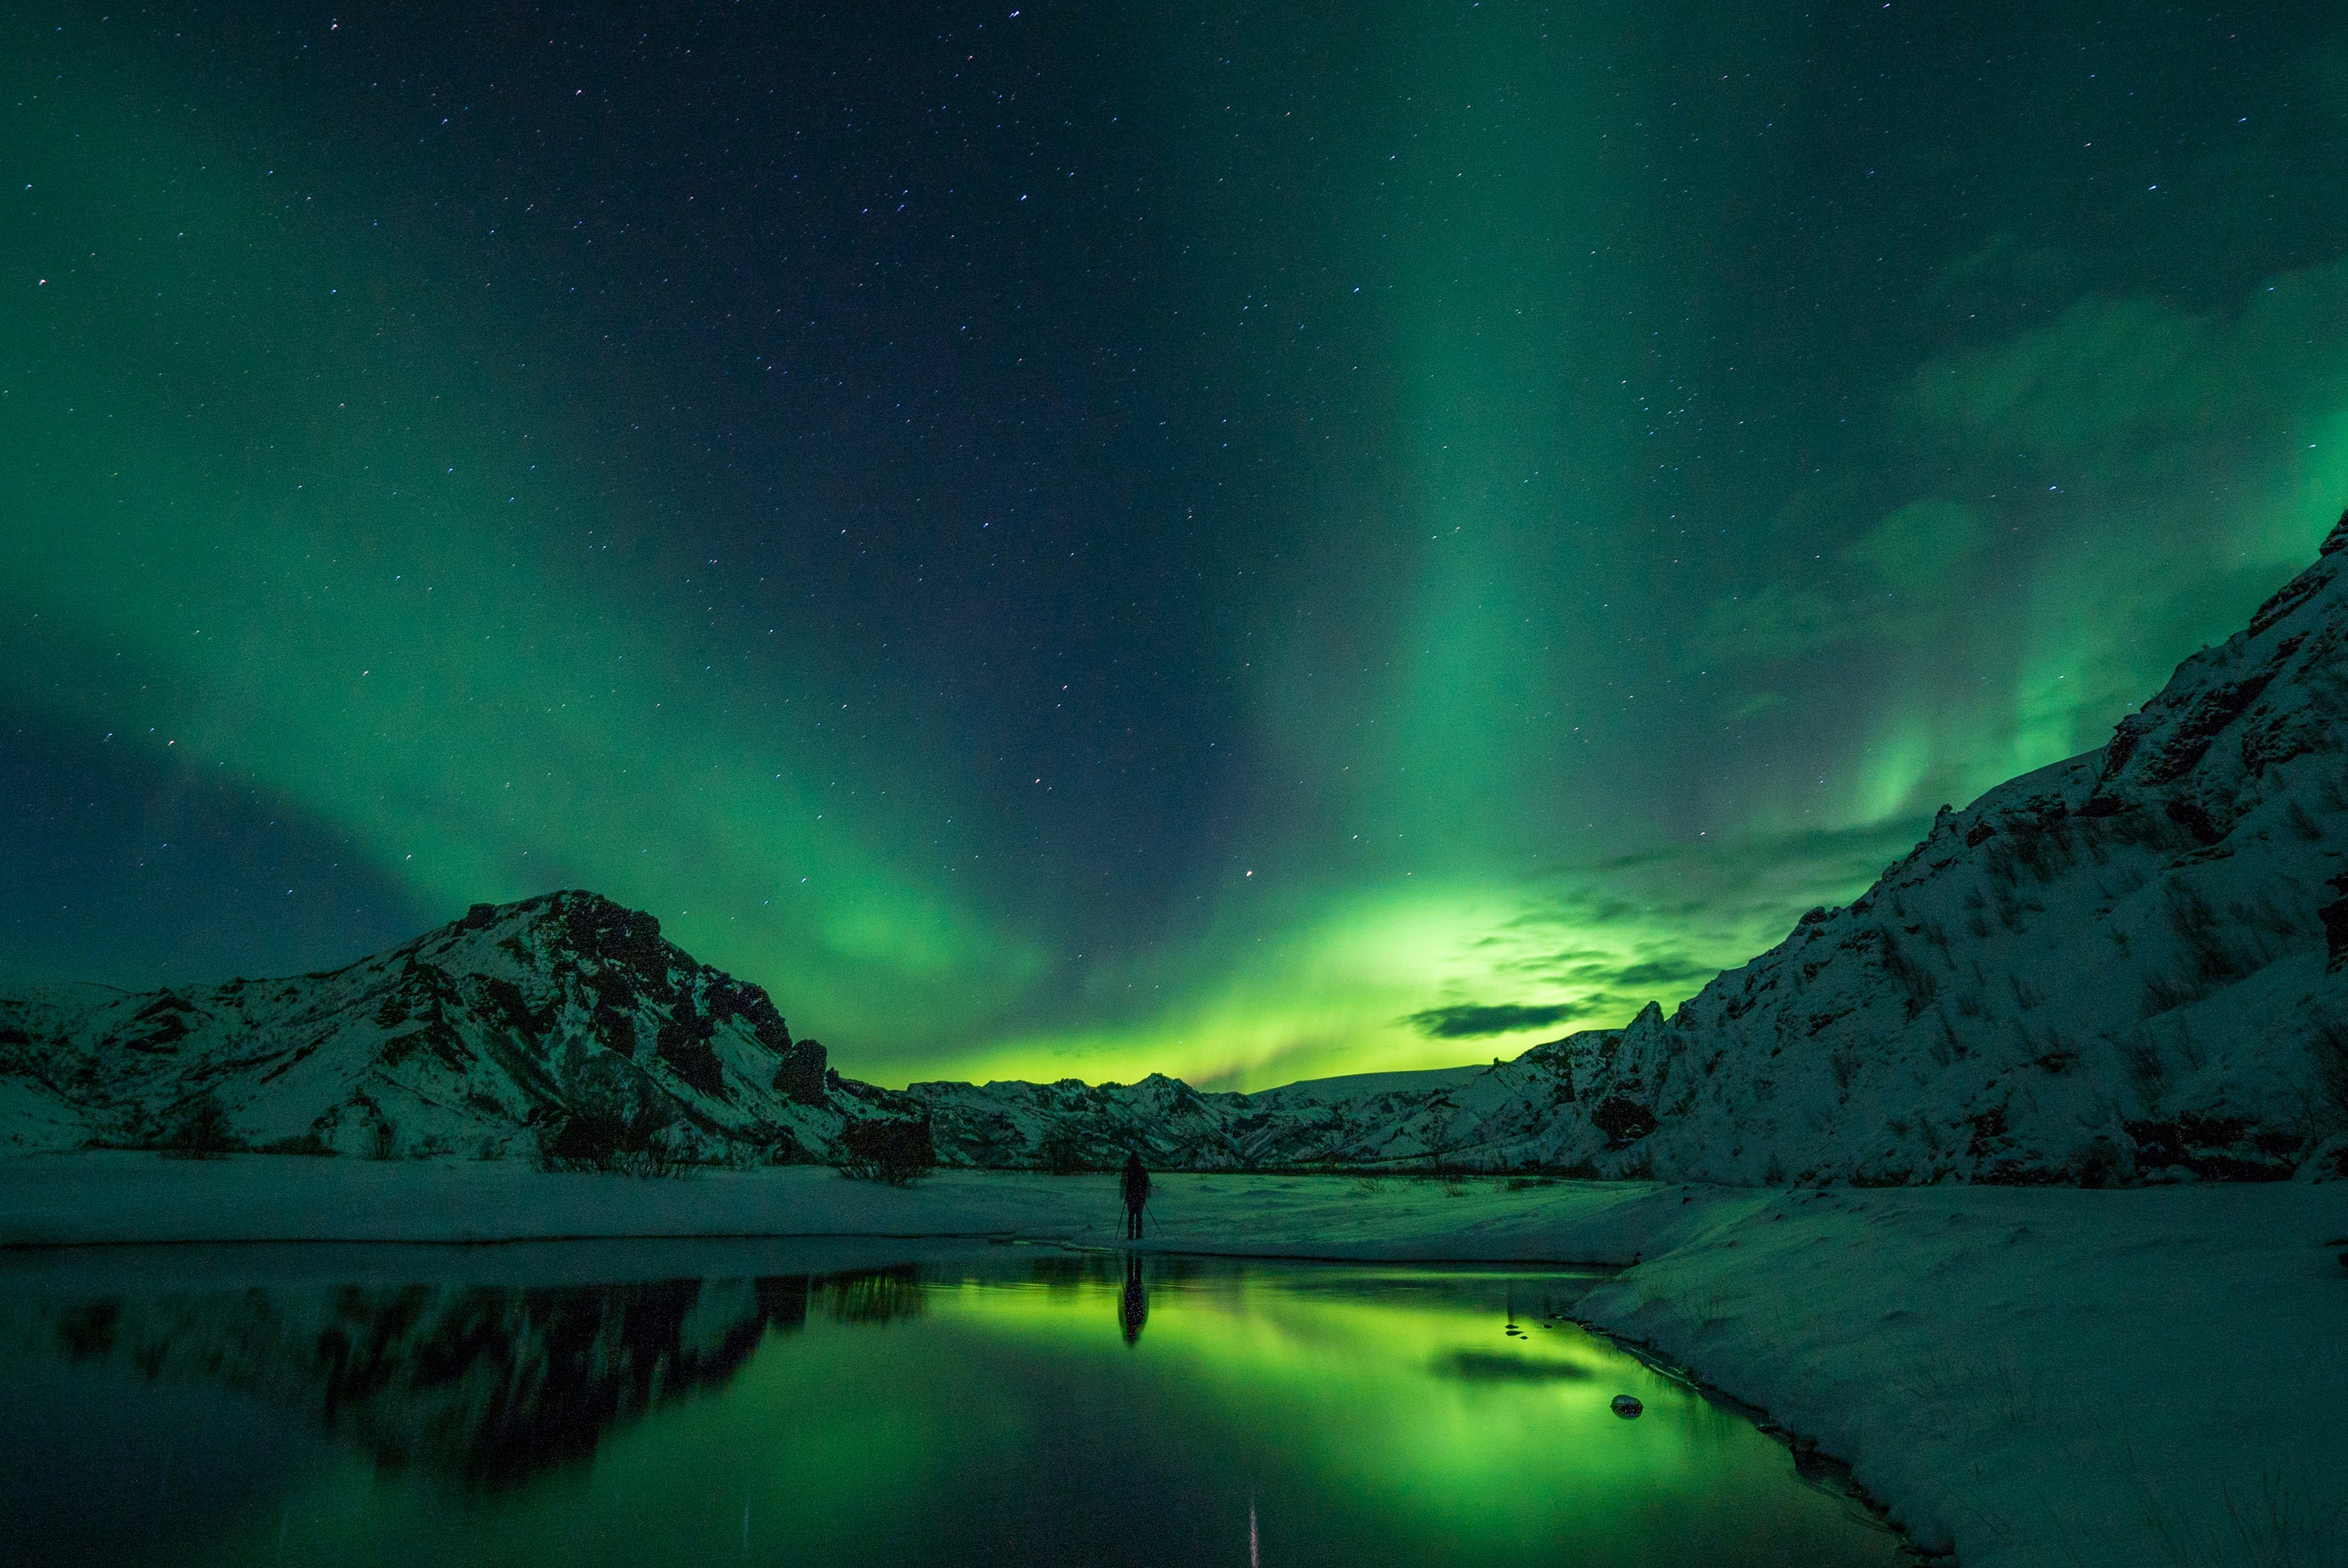
The Northern Lights are unquestionably one of the most breathtaking natural spectacles in the world. The bright dancing lights of the aurora are collisions between electrically charged particles from the sun that enter the earth's atmosphere. The lights are most frequently seen in the Polar Regions, centered within a 2500-kilometer radius of the geomagnetic poles of the northern and southern hemispheres. They are known as 'aurora borealis' in the north and 'aurora australis' in the south.
The lights of the aurora generally extend from 80 kilometres to as high as 640 kilometres above the earth's surface. The best places to see the Northern Lights are over the southern tip of Greenland and Iceland and the northern coast of Norway. In North America, you can see the lights in the northwestern parts of Canada and Alaska.
Colours of the Northern Lights
Auroral displays appear in a multitude of colors, although pale green and pink are the most common. All red auroras are produced by high-altitude oxygen at heights of up to 320 kilometres above the earth’s surface. Sightings are rare, though when seen are brilliant. If nitrogen particles are added, the aurora will take on a stunning purple-red or violet hue. The lights appear in many forms, from patches or scattered clouds of light to arcs, streamers, rippling curtains, or shooting rays that light up the sky with an eerie glow.
Best places to see the Northern Lights
When the Aurora Borealis are at their greatest, they can be seen in dozens of countries that fall anywhere close to the Arctic Circle, and that even includes the far north of Scotland. Of course, some places are better viewing spots than others, and here are five of the best places to witness the light show.
Best time to see the Lights
Seeing the Northern Lights is a truly unforgettable experience, but one that is largely dependent on luck. As a traveller with limited time, you must do all you can to increase your chances of catching the show. The best time to view the aurora is near midnight local time, as this is when the most active displays occur and the sky is at its darkest. Aurora activity tends to come in waves during the evening, which are called aurora sub-storms.
In Iceland, the optimal viewing season is between September and March, when the nights are cold, crisp, and clear. It's also nice if the weather is calm, as you'll want to stand outside and gaze. It's often claimed that November to February are the very best months, in the depths of winter when there's more hours of darkness, though this period of the year also receives some of the worst weather conditions, with cloud cover threatening to obscure the sky and Northern Light displays.
The longer you give yourself in Iceland, the more chances you have of a spectacular show, so if the Northern Lights are your once-in-a-lifetime adventure, plan a week's holiday and head out each evening. The lights work in cycles of two to three nights of intense activity followed by three to four nights of very little activity, so any holiday longer than five days will work best with these cycles.
How to spot the Northern Lights
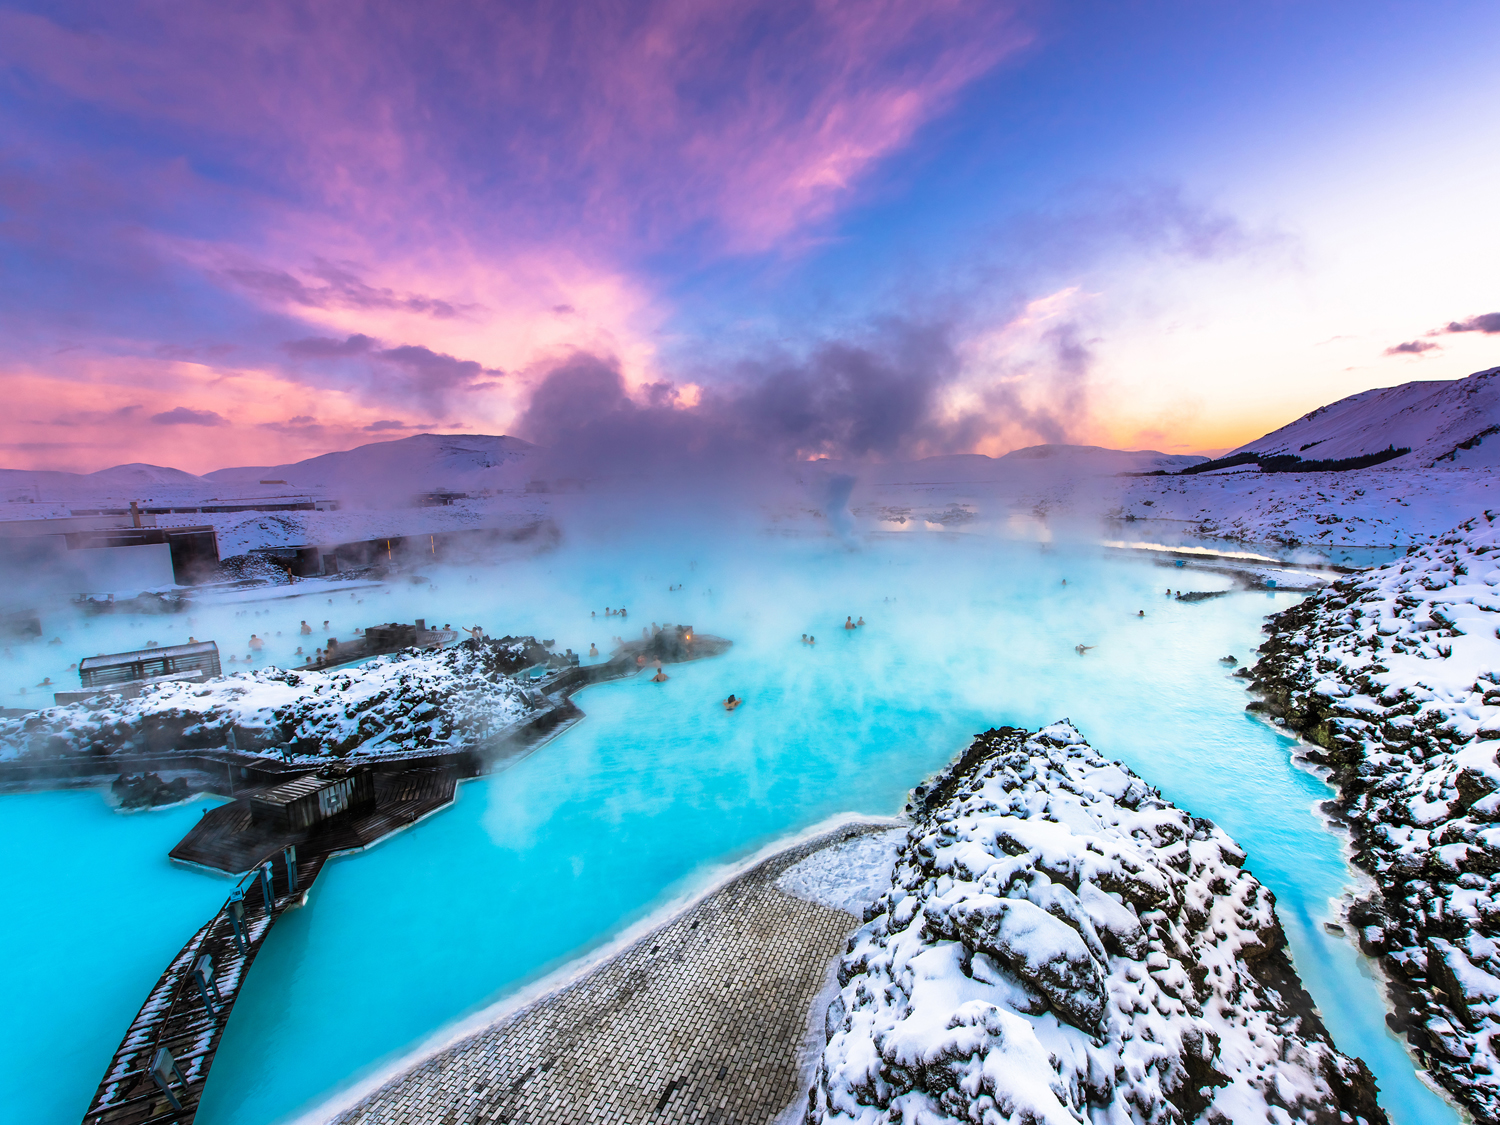
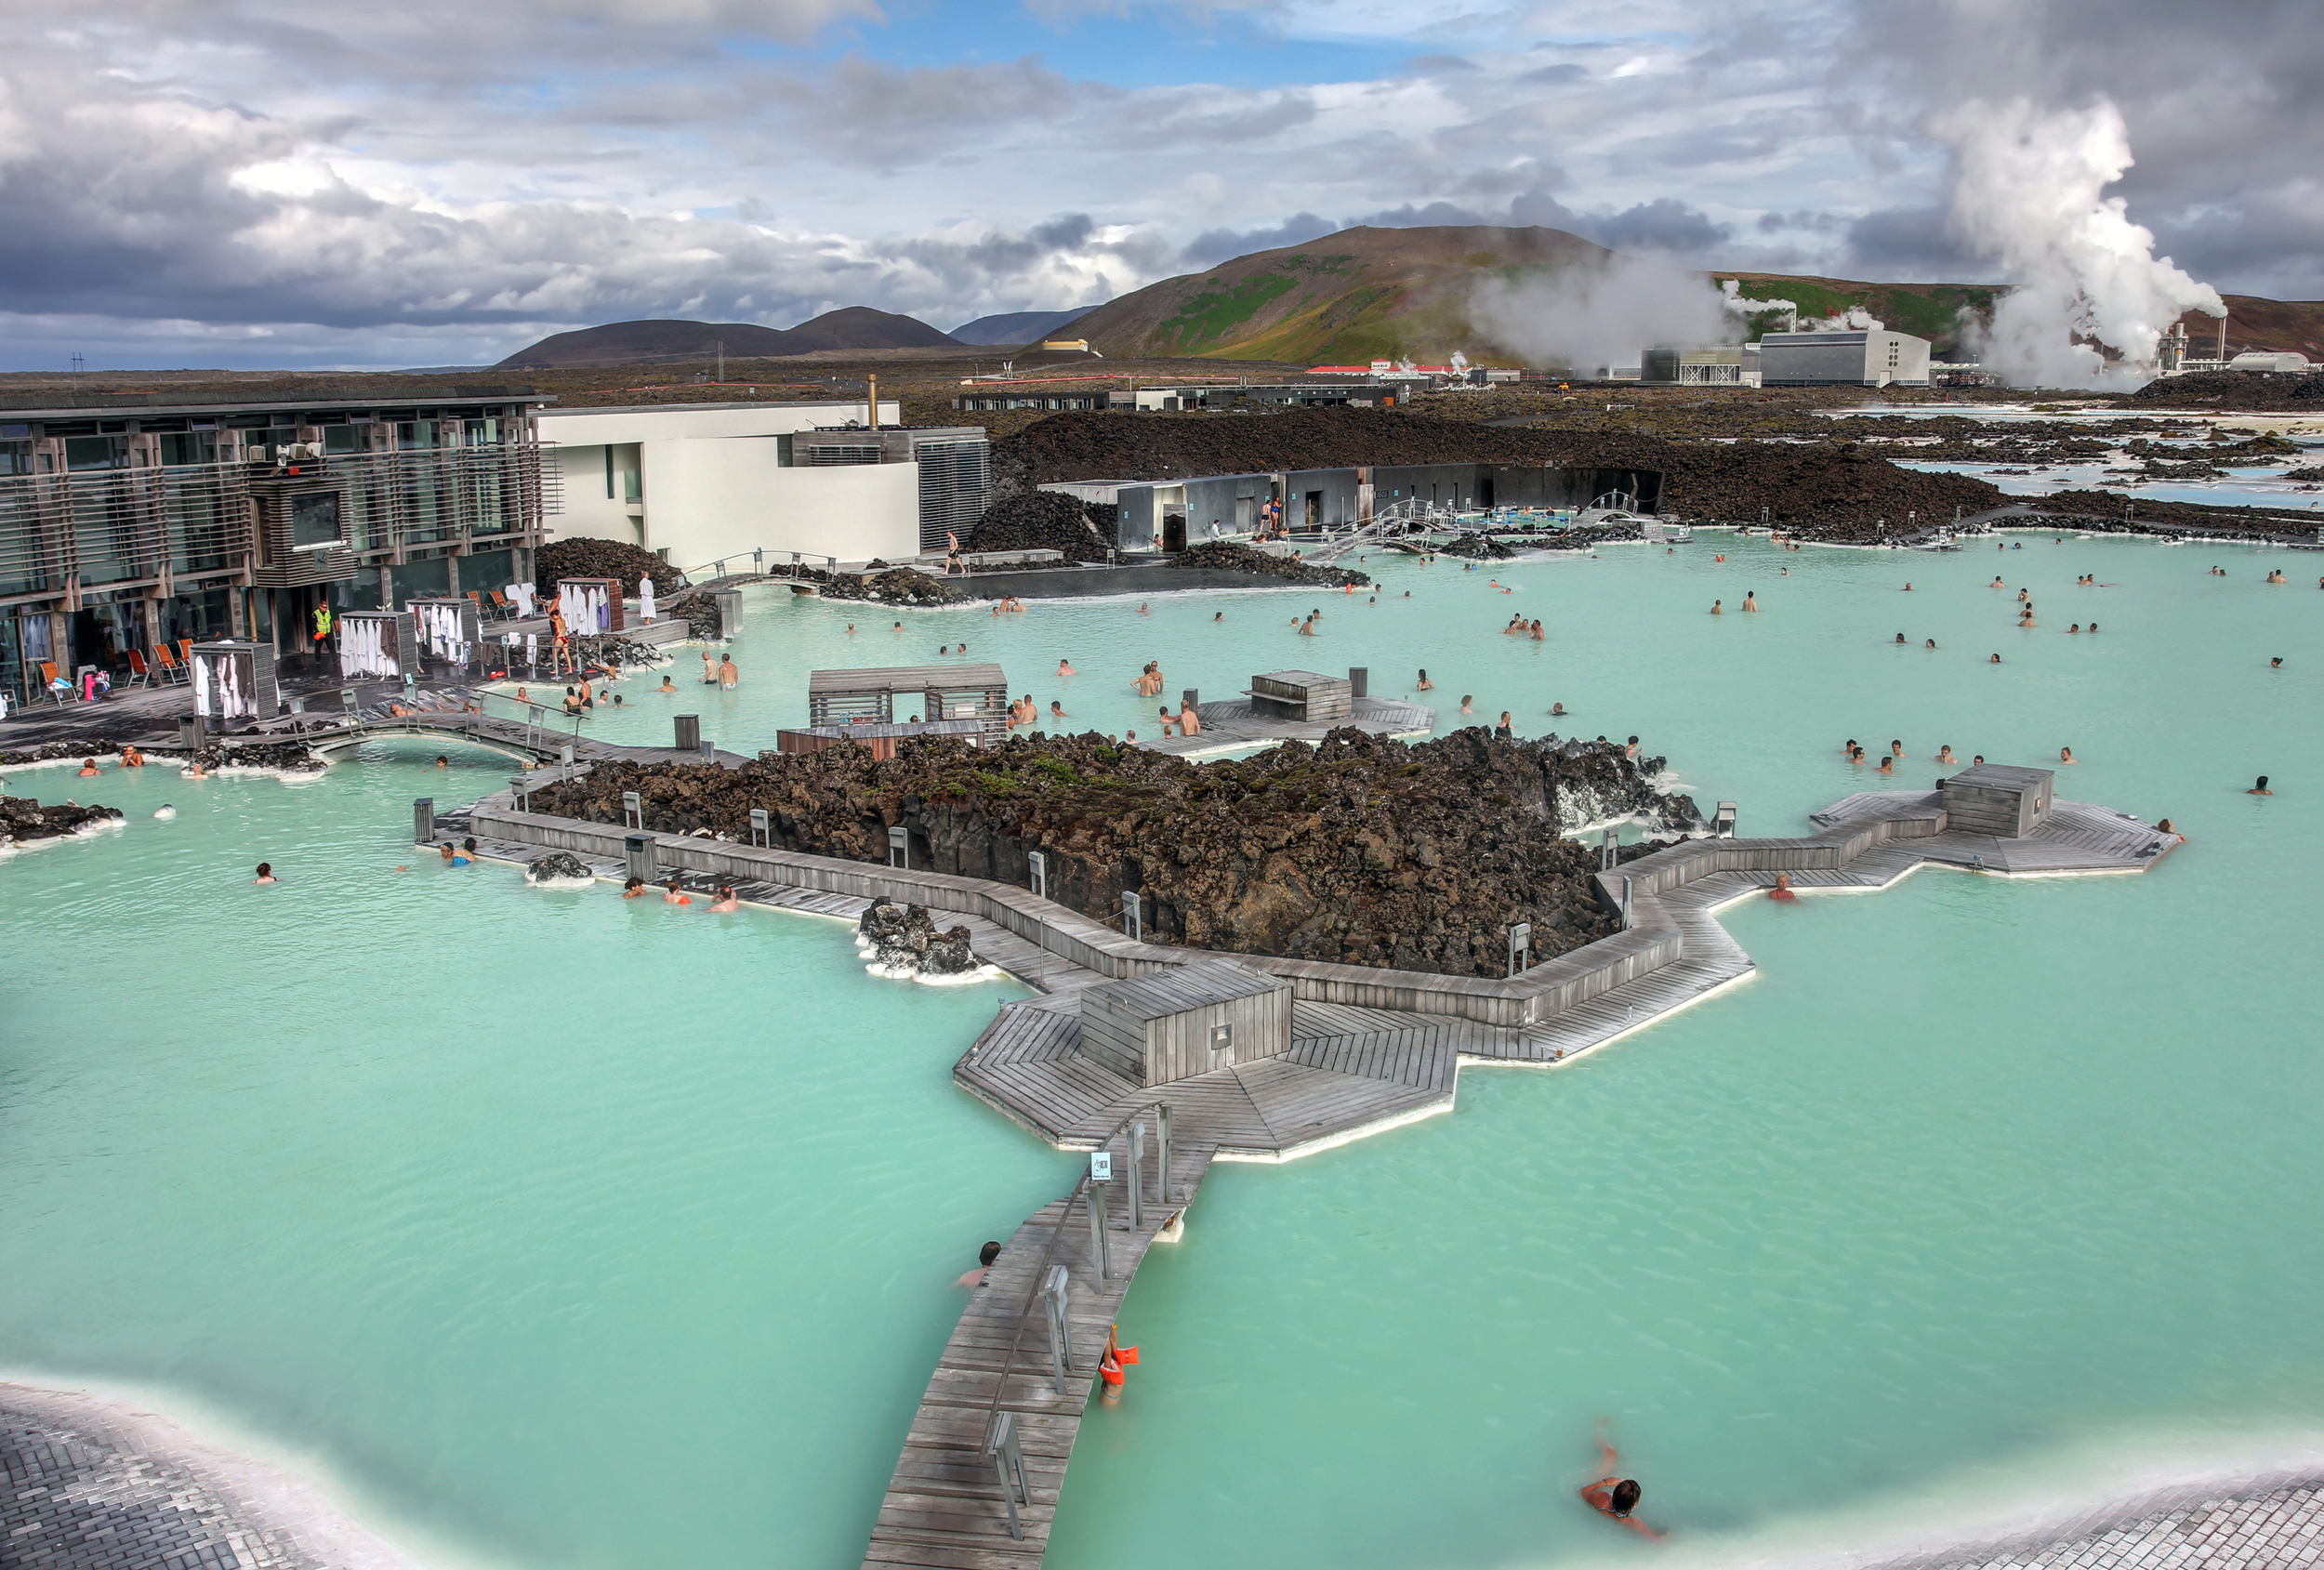
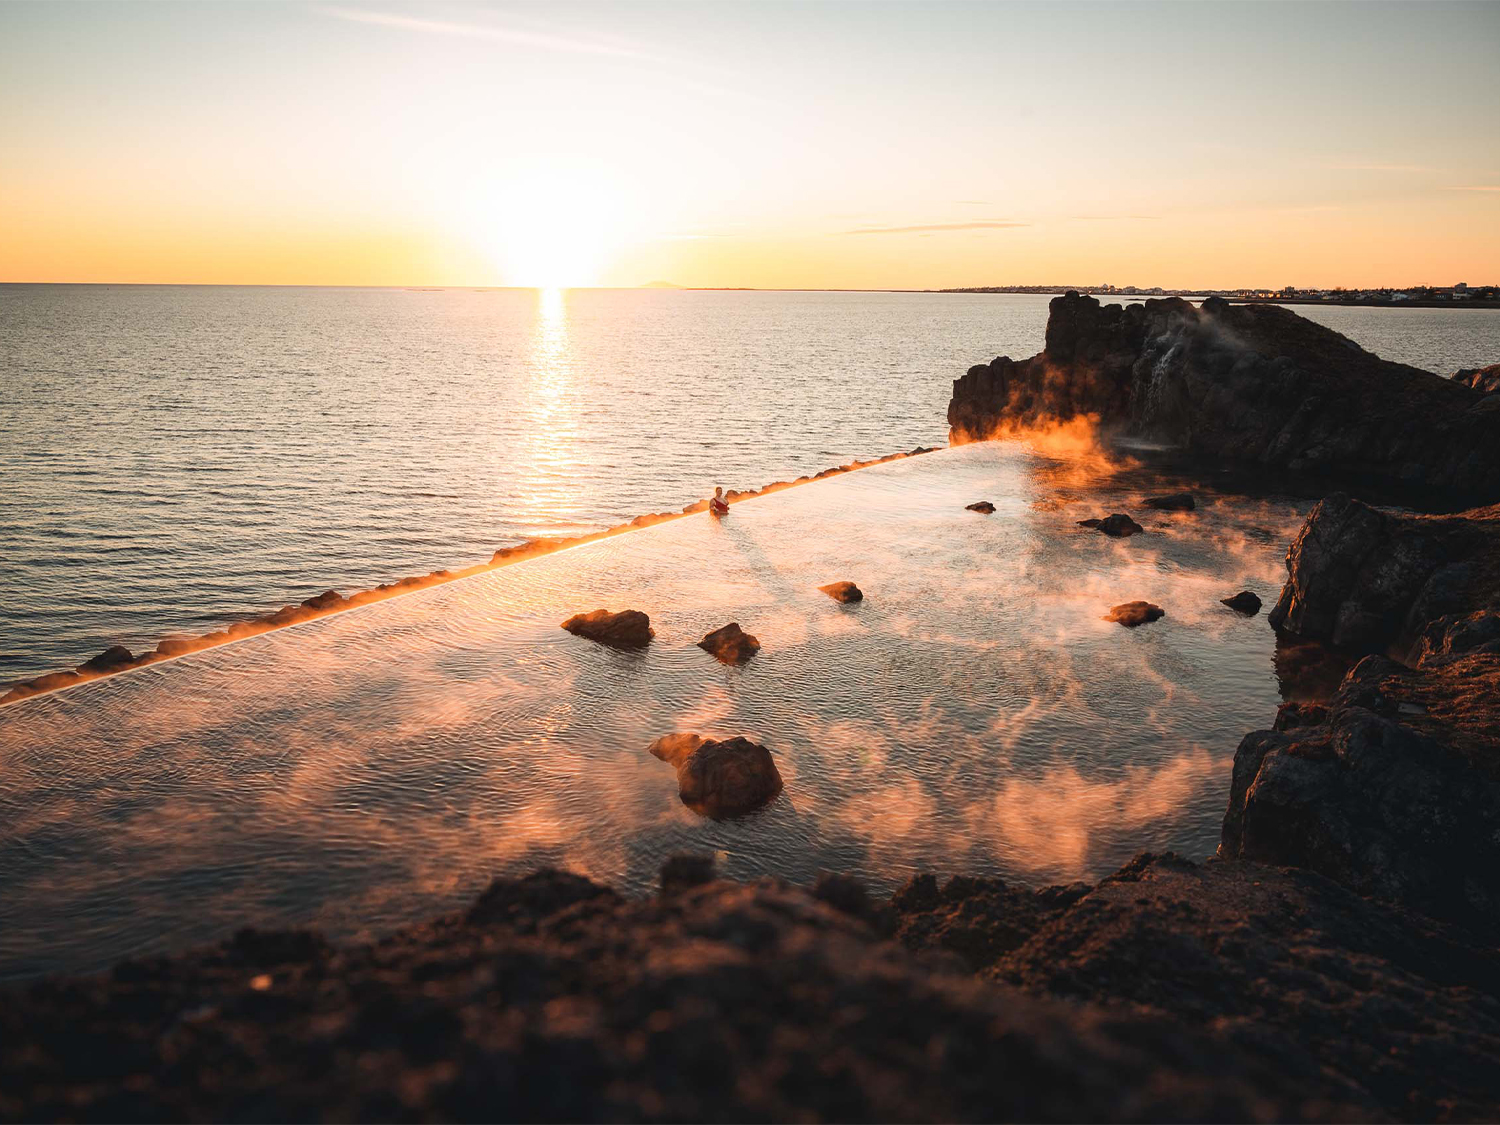
Heading away from the city lights of Reykjavík is best, so we spend our Northern Lights expeditions out in the Icelandic countryside, where there's minimal light pollution. The geothermal pools that dot the Icelandic countryside are excellent places for aurora spotting, especially when it's very cold. Nothing quite beats relaxing in bubbling warm waters, perhaps enjoying a soothing cup of hot chocolate, as vivid sheets of light dance above your head.
Photography Tips

Tip One

Tip Two

Tip Three

Tip Four

Tip Five

Tip Six
Popular sites to see in Iceland
Iceland guides to help you plan
Our customers say
Excellent
4.4 out of 5 based on 275 reviews
